
- ร้านเราจัดส่งสินค้าทุกวันจันทร์-เสาร์
- หากลูกค้ากดสั่งซื้อผ่านระบบได้สำเร็จ แสดงว่ามีสินค้าพร้อมจัดส่งได้ทันที
- สต๊อกสินค้าอยู่ในประเทศไทย ส่งถึงมือลูกค้าภายใน 1-3 วัน รวดเร็วทันใจแน่นอน - หากลูกค้าต้องการบิลใบเสร็จ ให้แจ้งที่หมายเหตุถึงร้านค้าหรือแชทแจ้งทางร้านได้เลย
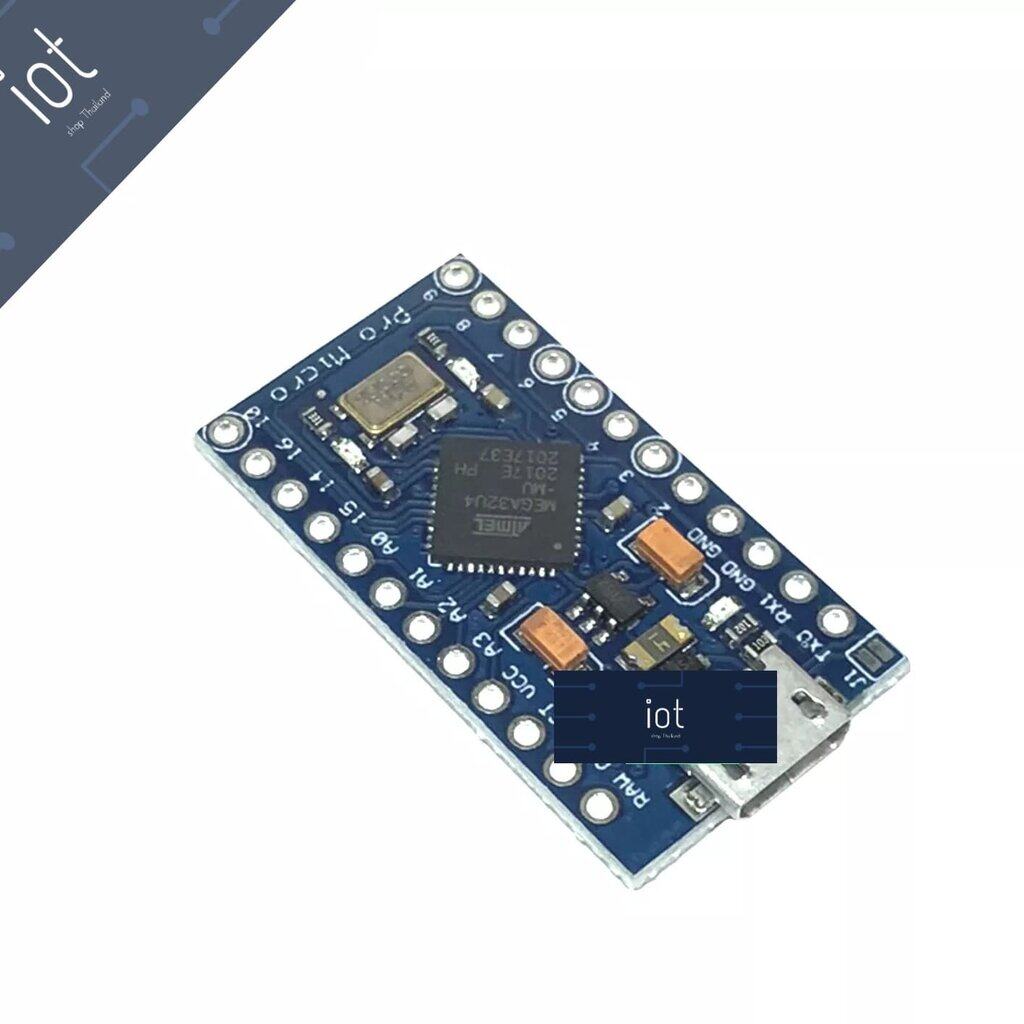
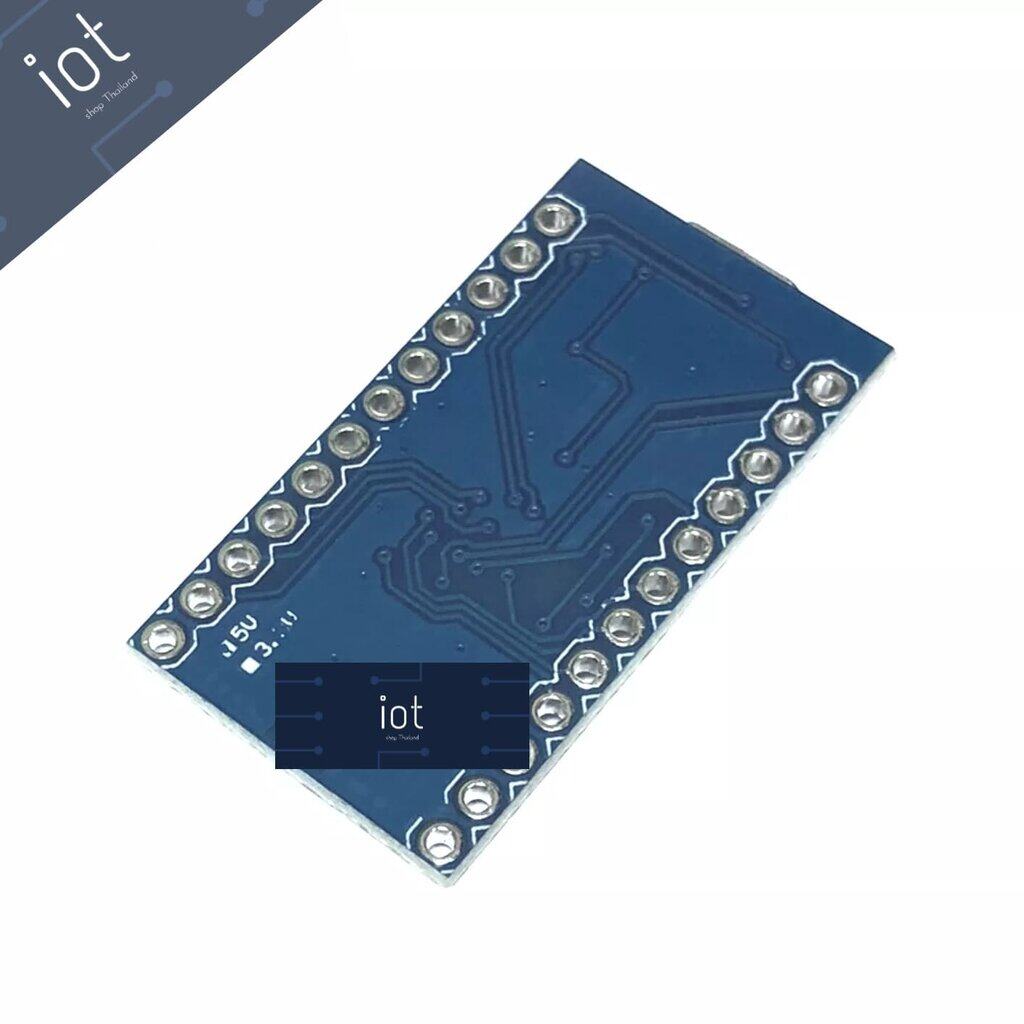
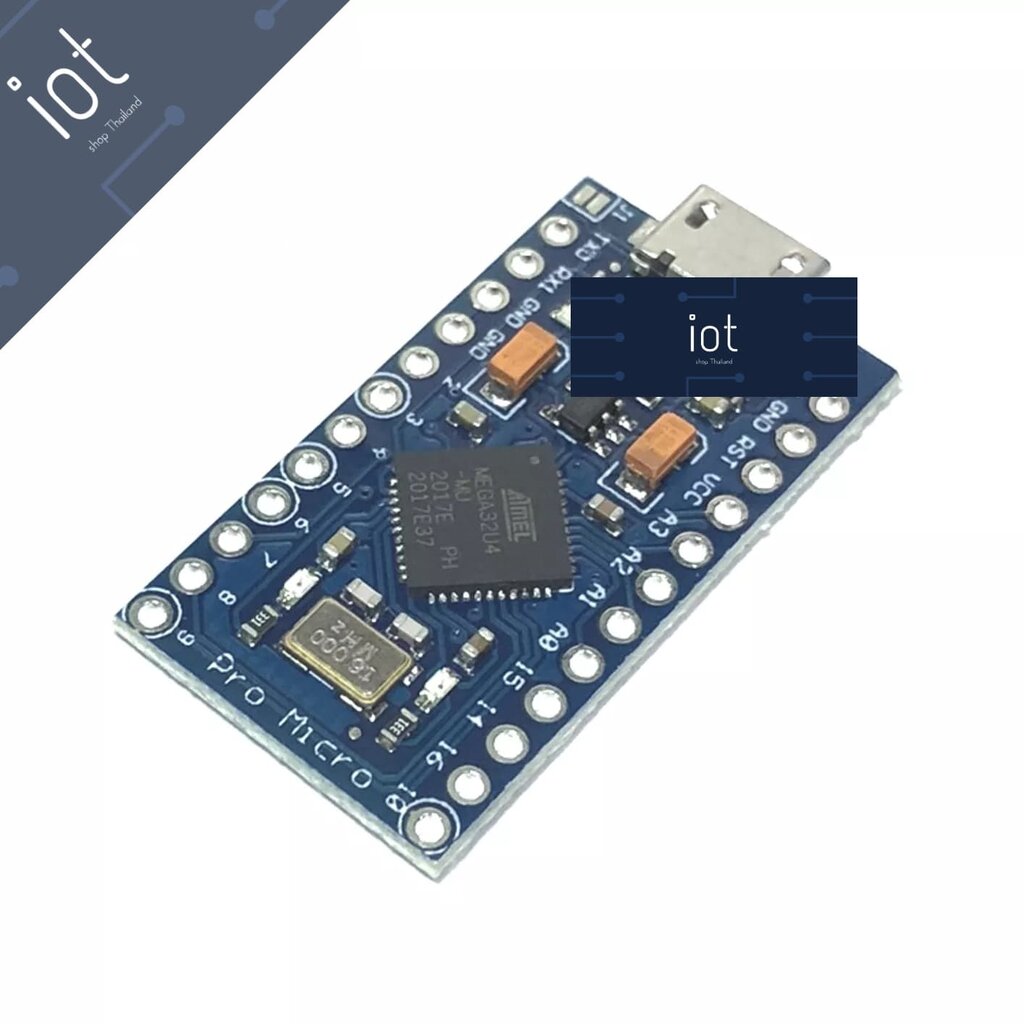
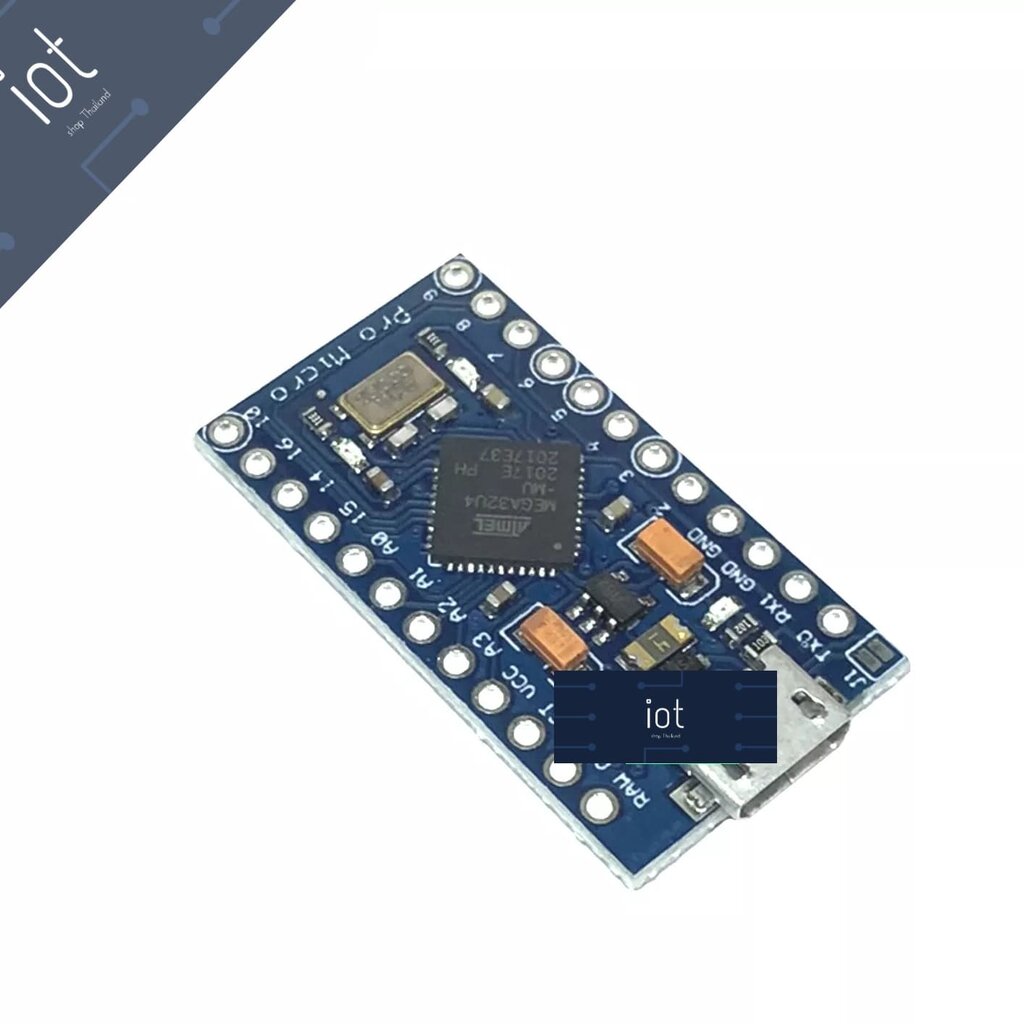
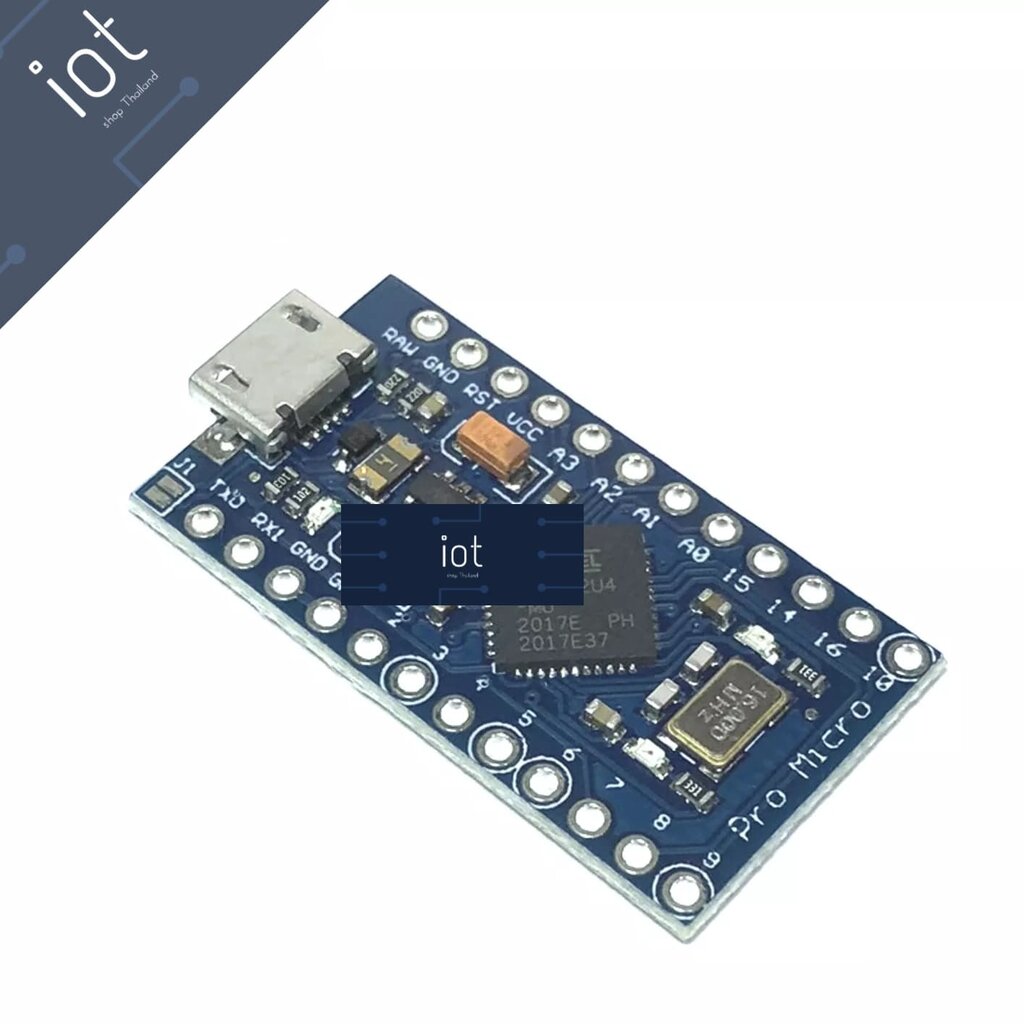
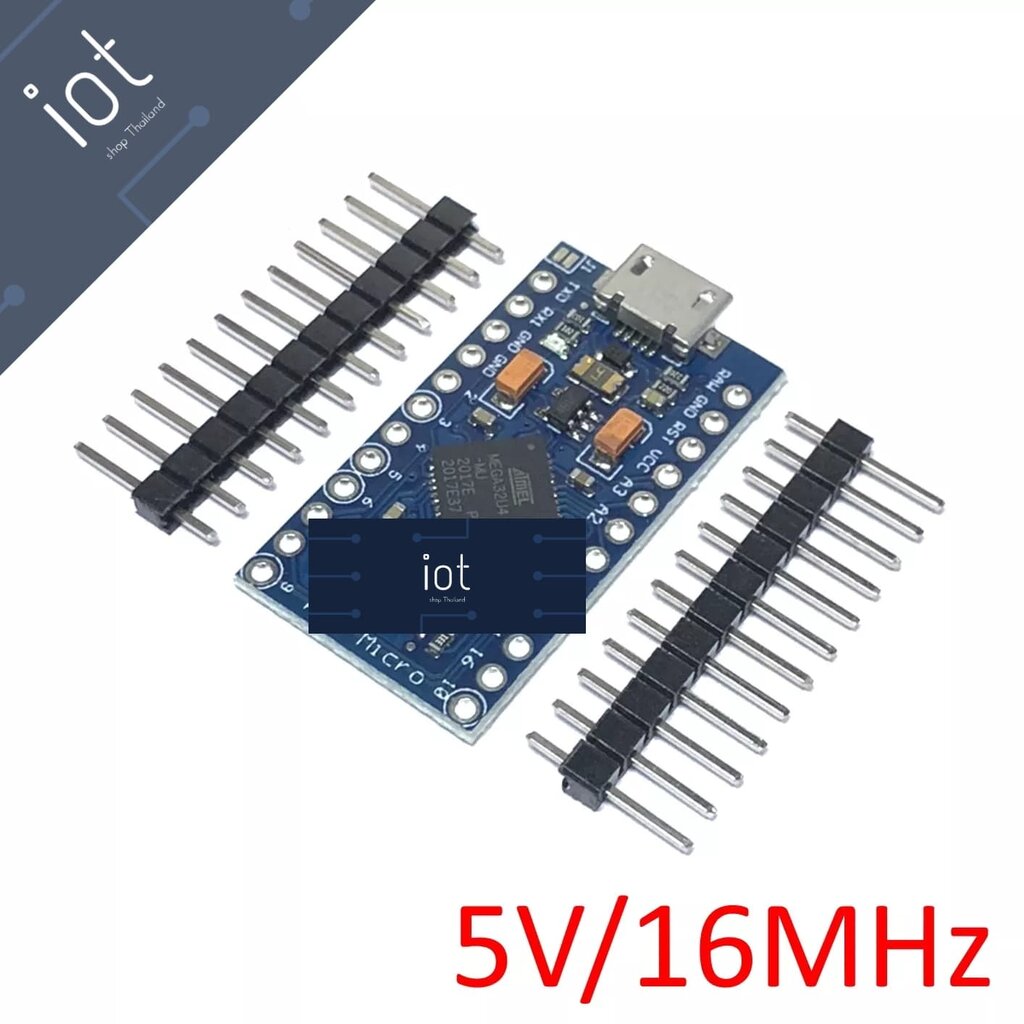
Pro Micro ATmega32U4 5V/16MHz
- ATMega 32U4 running at 5V/16MHz
- Supported under IDE v1.0.1
- On-Board micro-USB connector for programming
- 4 x 10-bit ADC pins
- 12 x Digital I/Os (5 are PWM capable)
- Rx and Tx Hardware Serial Connections
ศึกษาข้อมูลเพิ่มเติม
- https://www.sparkfun.com/products/11098
- ติดตั้ง Driver : https://learn.sparkfun.com/tutorials/pro-micro--fio-v3-hookup-guide
ตัวอย่าง Code
/* Pro Micro Test Code by: Nathan Seidle modified by: Jim Lindblom SparkFun Electronics date: September 16, 2013 license: Public Domain - please use this code however you'd like. It's provided as a learning tool. This code is provided to show how to control the SparkFun ProMicro's TX and RX LEDs within a sketch. It also serves to explain the difference between Serial.print() and Serial1.print(). */ int RXLED = 17; // The RX LED has a defined pin // The TX LED was not so lucky, we'll need to use pre-defined // macros (TXLED1, TXLED0) to control that. // (We could use the same macros for the RX LED too -- RXLED1, // and RXLED0.) void setup() { pinMode(RXLED, OUTPUT); // Set RX LED as an output // TX LED is set as an output behind the scenes Serial.begin(9600); //This pipes to the serial monitor Serial1.begin(9600); //This is the UART, pipes to sensors attached to board } void loop() { Serial.println("Hello world"); // Print "Hello World" to the Serial Monitor Serial1.println("Hello!"); // Print "Hello!" over hardware UART digitalWrite(RXLED, LOW); // set the RX LED ON TXLED0; //TX LED is not tied to a normally controlled pin so a macro is needed, turn LED OFF delay(1000); // wait for a second digitalWrite(RXLED, HIGH); // set the RX LED OFF TXLED1; //TX LED macro to turn LED ON delay(1000); // wait for a second }